
Nail Art-- Guest Post by Selina!!
>> Friday –
guest posts,
nails
Today I have an awesome guest post for you guys today!
It is a nail art design from a wonderful girl named Selina. I hope you enjoy! Also... make sure you watch the video below! :)
The nail art design I'm about to show is the galaxy. This is the first time I have ever done this design before. I hope you will enjoy it!
Supplies you will need.

- Tweezers
- Toothpicks
- white, yellow, dark blue, black, and pink nail polish.
- nail polish remover
- makeup sponge
- paper plate
You will need to turn your tooth pick into a dotting tool.
Here is how:
Dip your toothpick into the white nail polish and rotate till its dry keep doing this till you have a hard dot at the end of your toothpick.
Next, you need to rip your makeup sponge into small tiny pieces. Smaller than your pinky finger. You should have at least 5 of those ripped.
This is an important step. Before you start to dab any colors to your nails make sure you pour a lil bit of the nail polish on a paper plate. That way all you have to do is dab the sponge in the color then onto your nails. Please remember that you are in a way blending the colors so you have to work quickly. It should take you about 10min max to paint your nails.
Step 1: Paint a base coat on your nails, and then add 1 or 2 coats of black nail polish afterwards. Let it dry.

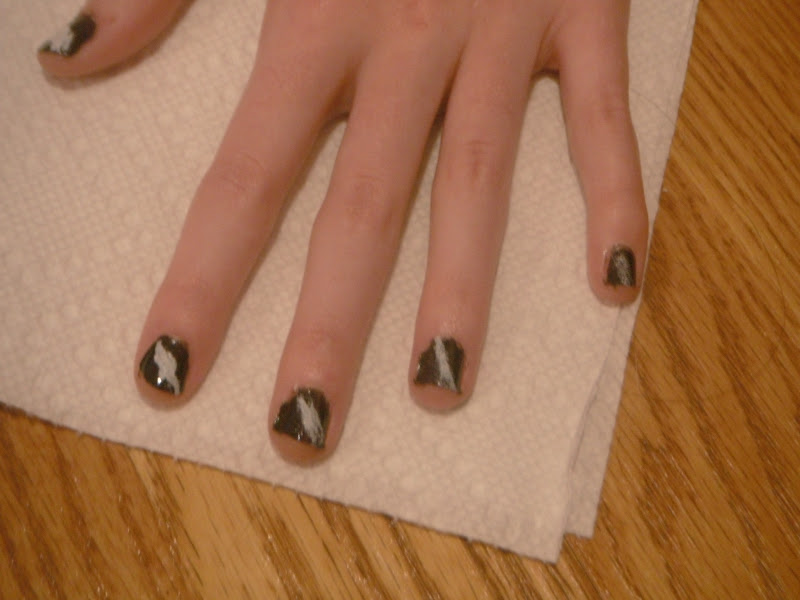
Step 2: After the black is dried, you will grab one of your small pieces of sponge, and dab it into the white from the paper plate, then dab a diagonal line on each of your fingers.
Step 3: You will repeat step 2 with the color yellow next, but the yellow will go over the white. As you add more colors to the nail make sure you dab it lightly each time.

Step 4: Repeat step 3 only with the color pink, only this time keep the pink close to the yellow. So it doesn't have to be right over but around the yellow.

Step 5: Repeat the same step with blue, only you add the dark blue to the edge of the galaxy colors.

Step 6: Using your dotting tool (the toothpick), dip it into the white nail polish bottle, and add little white dots all over the nail designs. These are the stars.

Step 7: To make sure your nail art is safe for at least 10 days, add a protective clear top coat to the design.
If you were to do this on your toes, I only did the galaxy on my big toes. For the rest, I added a silver glitter nail polish to make it look like stars.

I hope you enjoyed this tutorial. If you have any questions, please feel free to email me at spike95dancer@gmail.com
OR...
leave a comment on my blog.
Here is the link. http://selina-capturingeverydaybeauty.blogspot.com/

To know more about me, check out my about me page on my blog.
I hope you have a wonderful day!
Much Love,
~Selina~
The post was so good!! I loved it! What did you think?! Leave a comment or visit her blog! Have a great night:)
xoxo,
Hannah Mae
